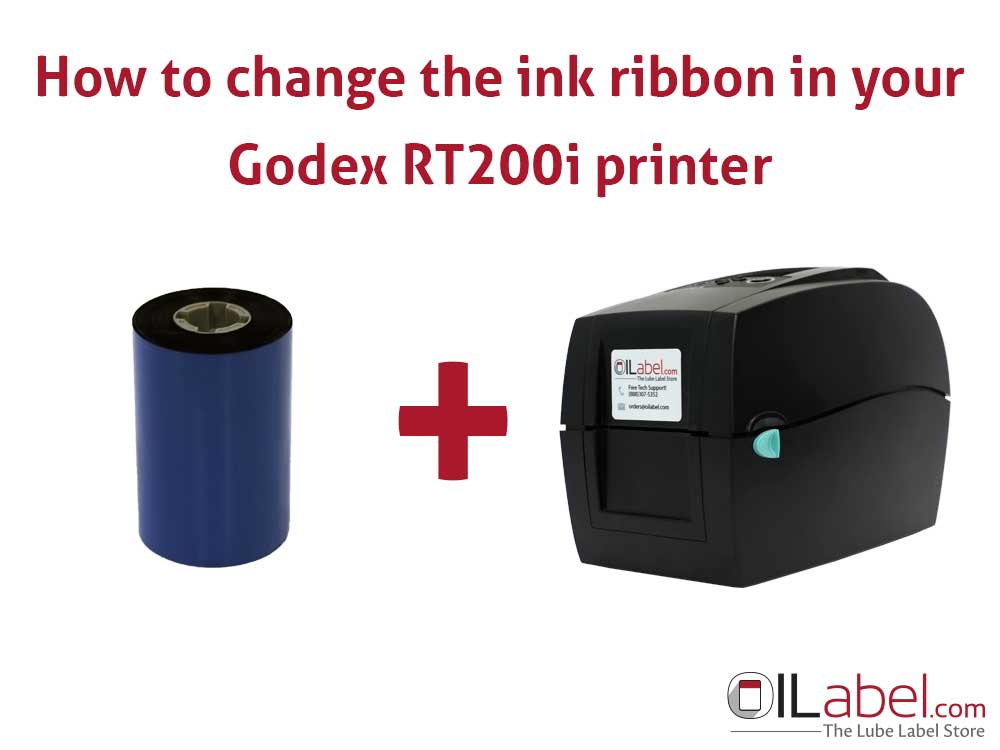
How do I change the Ribbon in my Godex RT200i printer?

In this tutorial we will show you how to change the ink ribbon in your Godex RT200i oil change sticker printer to set you up to print 1,500 more oil change stickers!
- Use the 2 green tabs to open the printer
-
Reuse the old core. Move the core from the bottom to the top.
-
Insert the ribbon into the slot. (Ribbon rolls from the top towards the back of the printer.)
-
Pull the end of the ribbon over the front.
-
Tape the ribbon to the top of the empty core.
-
Turn the gears on the left counter clockwise to remove the slack.
-
Keep turning the gears until all you see is black ribbon.
-
Close the printer.
The video below will show you the previous steps.
If you need further assistance please contact our customer support at (888) 307-5352. We will be very glad to assist you!
